
XFeat를 사용한 월리를 찾기 구현OpenCV/OpenCV 강좌2024. 12. 17. 22:49
Table of Contents
반응형
XFeat를 사용하여 월리를 찾아봤습니다.
2024. 12. 17 최초작성
여러번 시행 착오 끝에 월리를 찾기는 했지만 만족스럽지는 않네요.
xfeat.match_xfeat 함수의 top_k를 조정한 끝에 월리를 찾았기 때문입니다.
또 맘에 안드는건 원본 이미지에서 월리를 잘라서 사용해야 했어요.
다른 장면이라도 잘찾아주는 Yolo가 정말 뛰어나구나 새삼 느꼈답니다.

XFeat 설치 방법은 다음 포스트를 참고하세요
SIFT와 XFeat 사용해보기
https://webnautes.tistory.com/2360
테스트에 사용한 코드입니다.
| import numpy as np import os import torch import tqdm import cv2 import matplotlib.pyplot as plt import numpy as np from modules.xfeat import XFeat def warp_corners_and_draw_matches(ref_points, dst_points, img1, img2): # Calculate the Homography matrix H, mask = cv2.findHomography(ref_points, dst_points, cv2.USAC_MAGSAC, 3.5, maxIters=1_000, confidence=0.999) mask = mask.flatten() # Get corners of the first image (image1) h, w = img1.shape[:2] corners_img1 = np.array([[0, 0], [w-1, 0], [w-1, h-1], [0, h-1]], dtype=np.float32).reshape(-1, 1, 2) # Warp corners to the second image (image2) space warped_corners = cv2.perspectiveTransform(corners_img1, H) # # Draw the warped corners in image2 img2_with_corners = img2.copy() for i in range(len(warped_corners)): start_point = tuple(warped_corners[i-1][0].astype(int)) end_point = tuple(warped_corners[i][0].astype(int)) cv2.line(img2_with_corners, start_point, end_point, (0, 255, 0), 4) # Using solid green for corners # Prepare keypoints and matches for drawMatches function keypoints1 = [cv2.KeyPoint(p[0], p[1], 5) for p in ref_points] keypoints2 = [cv2.KeyPoint(p[0], p[1], 5) for p in dst_points] matches = [cv2.DMatch(i,i,0) for i in range(len(mask)) if mask[i]] # Draw inlier matches img_matches = cv2.drawMatches(img1, keypoints1, img2_with_corners, keypoints2, matches, None, matchColor=(0, 255, 0), flags=2) return img_matches xfeat = XFeat() im1 = cv2.imread('wally.png') # reference 찾으려는 물체 im2 = cv2.imread('where.png') # target 찾으려는 물체가 포함된 장면 mkpts_0, mkpts_1 = xfeat.match_xfeat(im1, im2, top_k = 2000) canvas = warp_corners_and_draw_matches(mkpts_0, mkpts_1, im1, im2) cv2.imshow('result', canvas) cv2.waitKey(0) |
테스트에 사용한 이미지입니다.


반응형
'OpenCV > OpenCV 강좌' 카테고리의 다른 글
| YoLo를 사용하여 영상에 사람이 있었던 총시간을 측정하는 OpenCV Python 예제 (1) | 2025.01.28 |
|---|---|
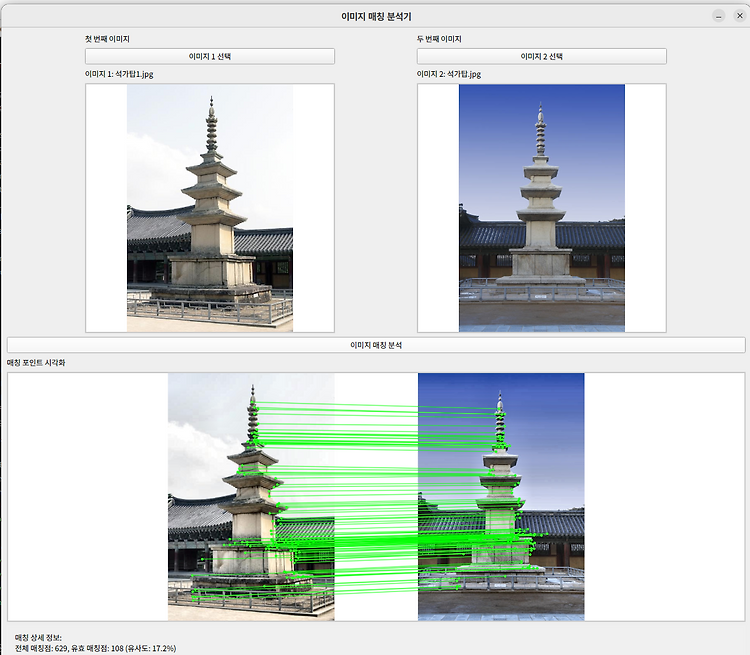
| OpenCV와 XFeat를 사용한 pyQt5 이미지 매칭 프로그램 (0) | 2025.01.02 |
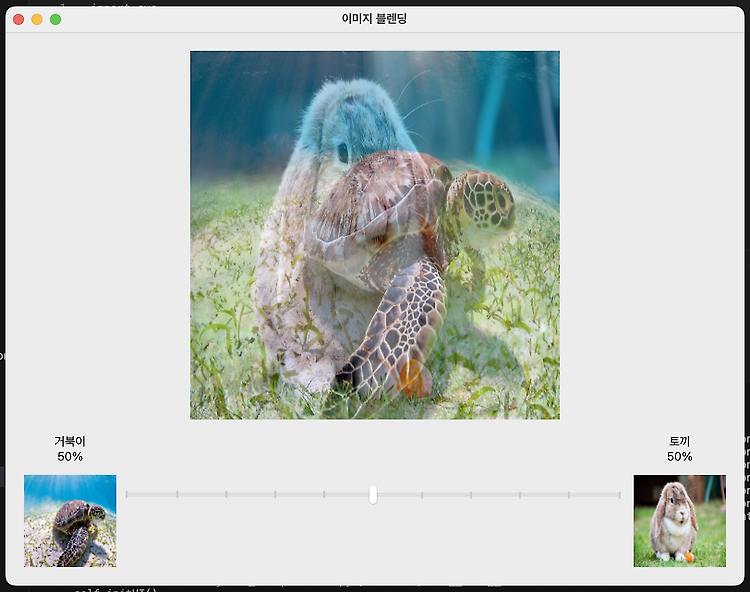
| OpenCV Python + pyQt5 구현 - 두 개의 이미지 더하는 블렌딩 (2) | 2024.08.28 |
| SIFT와 XFeat 사용해보기 (0) | 2024.07.28 |
| OpenCV에서 CUDA 사용해보기 (0) | 2024.06.29 |


