OpenCV에서 캡처한 webcam 영상을 QT에서 보여주기OpenCV/Qt2023. 10. 13. 22:35
Table of Contents
반응형
OpenCV에서 캡처한 webcam 영상을 QT에서 보여주는 예제 코드입니다.
2021. 8. 24 - 최초작성
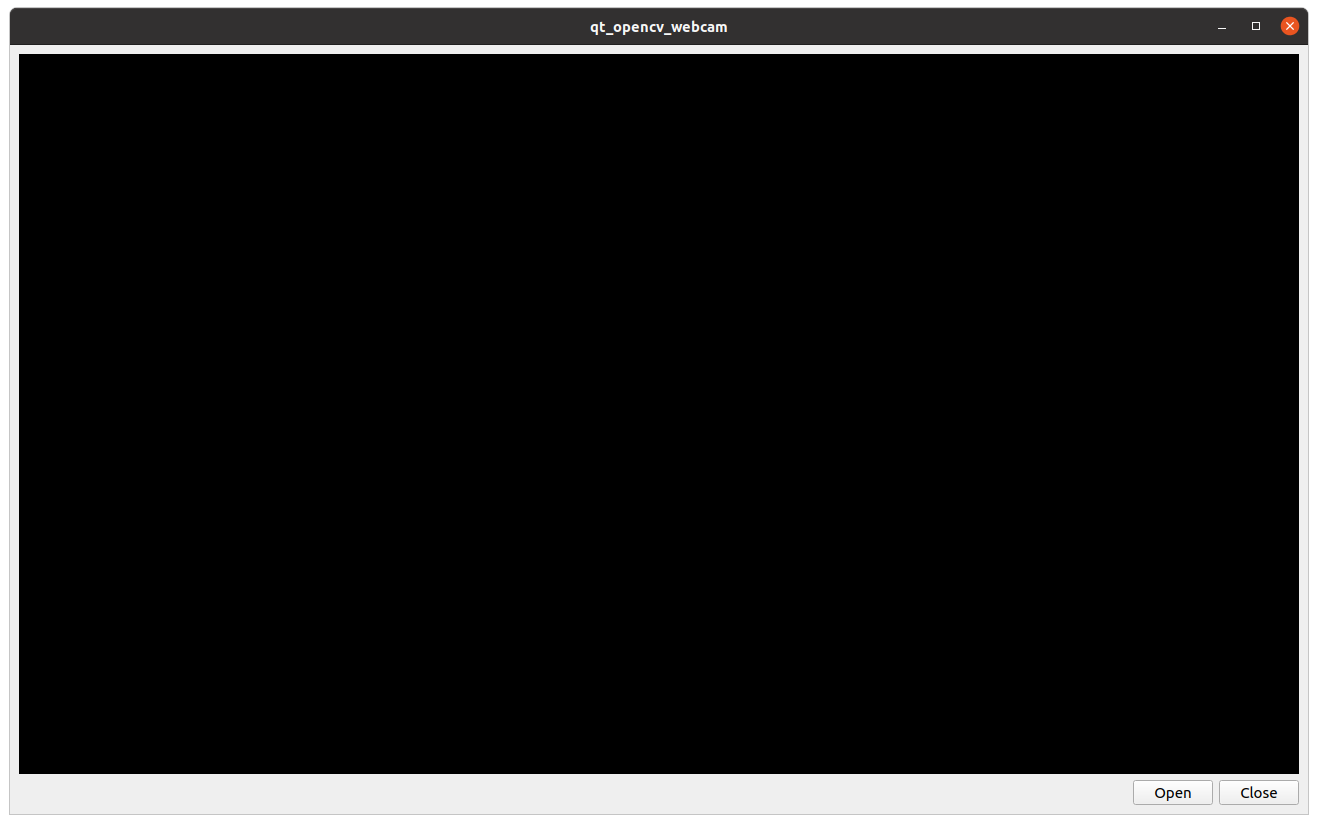
실행 화면입니다.
처음 실행시

Open 버튼 클릭 후

Close 버튼 클릭 후
소스 코드입니다.
| // 원본 - https://github.com/eyyupT/OpenCV-CPP-show-webcam-stream-on-Qt-GUI // 수정 - webnautes 2021. 8. 24 #include <QApplication> #include <QMainWindow> #include <QTimer> #include <QLabel> #include <QPushButton> #include <QHBoxLayout> #include <QVBoxLayout> #include <iostream> #include <opencv2/opencv.hpp> using namespace cv; using namespace std; class MainWindow : public QMainWindow { public: MainWindow(QWidget *parent = 0); private slots: void Open(); void Close(); void update_window(); private: QTimer *timer; VideoCapture cap; Mat frame; QImage qt_image; QLabel *label; QPushButton *openBtn; QPushButton *closeBtn; }; MainWindow::MainWindow(QWidget *parent) : QMainWindow(parent) { QWidget * qwidget = new QWidget(this); auto *vbox = new QVBoxLayout(this); auto *hbox = new QHBoxLayout(); openBtn = new QPushButton("Open", this); closeBtn = new QPushButton("Close", this); hbox->addWidget(openBtn, 1, Qt::AlignRight); hbox->addWidget(closeBtn, 0); label = new QLabel(this); vbox->addWidget(label); vbox->addStretch(1); vbox->addLayout(hbox); qwidget->setLayout(vbox); setCentralWidget(qwidget); connect(openBtn, &QPushButton::clicked, this, &MainWindow::Open); connect(closeBtn, &QPushButton::clicked, this, &MainWindow::Close); timer = new QTimer(this); } void MainWindow::Open() { cap.open(0); if(!cap.isOpened()) { cout << "camera is not open" << endl; } else { cout << "camera is open" << endl; connect(timer, &QTimer::timeout, this, &MainWindow::update_window); timer->start(20); } } void MainWindow::Close() { disconnect(timer, &QTimer::timeout, this, &MainWindow::update_window); cap.release(); Mat image = Mat::zeros(frame.size(),CV_8UC3); qt_image = QImage((const unsigned char*) (image.data), image.cols, image.rows, QImage::Format_RGB888); label->setPixmap(QPixmap::fromImage(qt_image)); label->resize(label->pixmap()->size()); cout << "camera is closed" << endl; } void MainWindow::update_window() { cap >> frame; cvtColor(frame, frame, COLOR_BGR2RGB); qt_image = QImage((const unsigned char*) (frame.data), frame.cols, frame.rows, QImage::Format_RGB888); label->setPixmap(QPixmap::fromImage(qt_image)); label->resize(label->pixmap()->size()); } int main(int argc, char *argv[]) { QApplication app(argc, argv); MainWindow window; window.show(); return app.exec(); } |
빌드하는 과정을 간단히 설명하면 다음과 같습니다.
1. 새로 디렉토리를 생성하고 해당 디렉토리에 위 소스 코드를 main.cpp로 저장합니다.
2. qmake -project 실행합니다.
3. 생성된 pro 파일에서 빨간색 줄 부분들을 추가해야 합니다.
QT += widgets
TEMPLATE = app
TARGET = qt_opencv_webcam
INCLUDEPATH += .
INCLUDEPATH += /usr/local/include/opencv4/
LIBS += -L/usr/local/lib/ -lopencv_core -lopencv_imgproc -lopencv_imgcodecs -lopencv_videoio
4. qmake 실행합니다.
5. make 실행합니다.
6. 이제 현재 디렉토리 이름으로 생성된 실행파일을 실행하면 됩니다.
반응형
'OpenCV > Qt' 카테고리의 다른 글
| OpenCV에서 캡처한 영상을 pyQt5 윈도우에 보여주기 (0) | 2023.10.13 |
|---|---|
| OpenCV에서 로드한 image 파일을 QT에서 보여주고 간단한 영상처리 (0) | 2023.10.13 |
시간날때마다 틈틈이 이것저것 해보며 블로그에 글을 남깁니다.
블로그의 문서는 종종 최신 버전으로 업데이트됩니다.
여유 시간이 날때 진행하는 거라 언제 진행될지는 알 수 없습니다.
블로그 글과 유튜브 영상을 만드는 것은 전문가라서라기보단 공부한 내용을 함께 공유하는 게 좋아서입니다.
제가 쓴 책도 한번 검토해보세요 ^^