

Android NDK와 OpenCV를 사용하여 갤러리에 있는 이미지를 불러와 영상처리하는 예제입니다.
바를 이용하여 Canny의 스레숄드를 변경하면 바로 결과를 볼 수 있습니다.
2016.12.16 최초작성
. . . .
2019. 2. 8. 갤러리에서 이미지 불러오도록 수정
2019. 5. 5. 스레숄드 조정할 수 있는 바를 추가
2020. 9. 22 androidx 관련 수정
2023. 11. 26
.
외장 저장공간 접근 권한을 사용하기 때문에 처음 실행하면 권한 요청을 합니다.
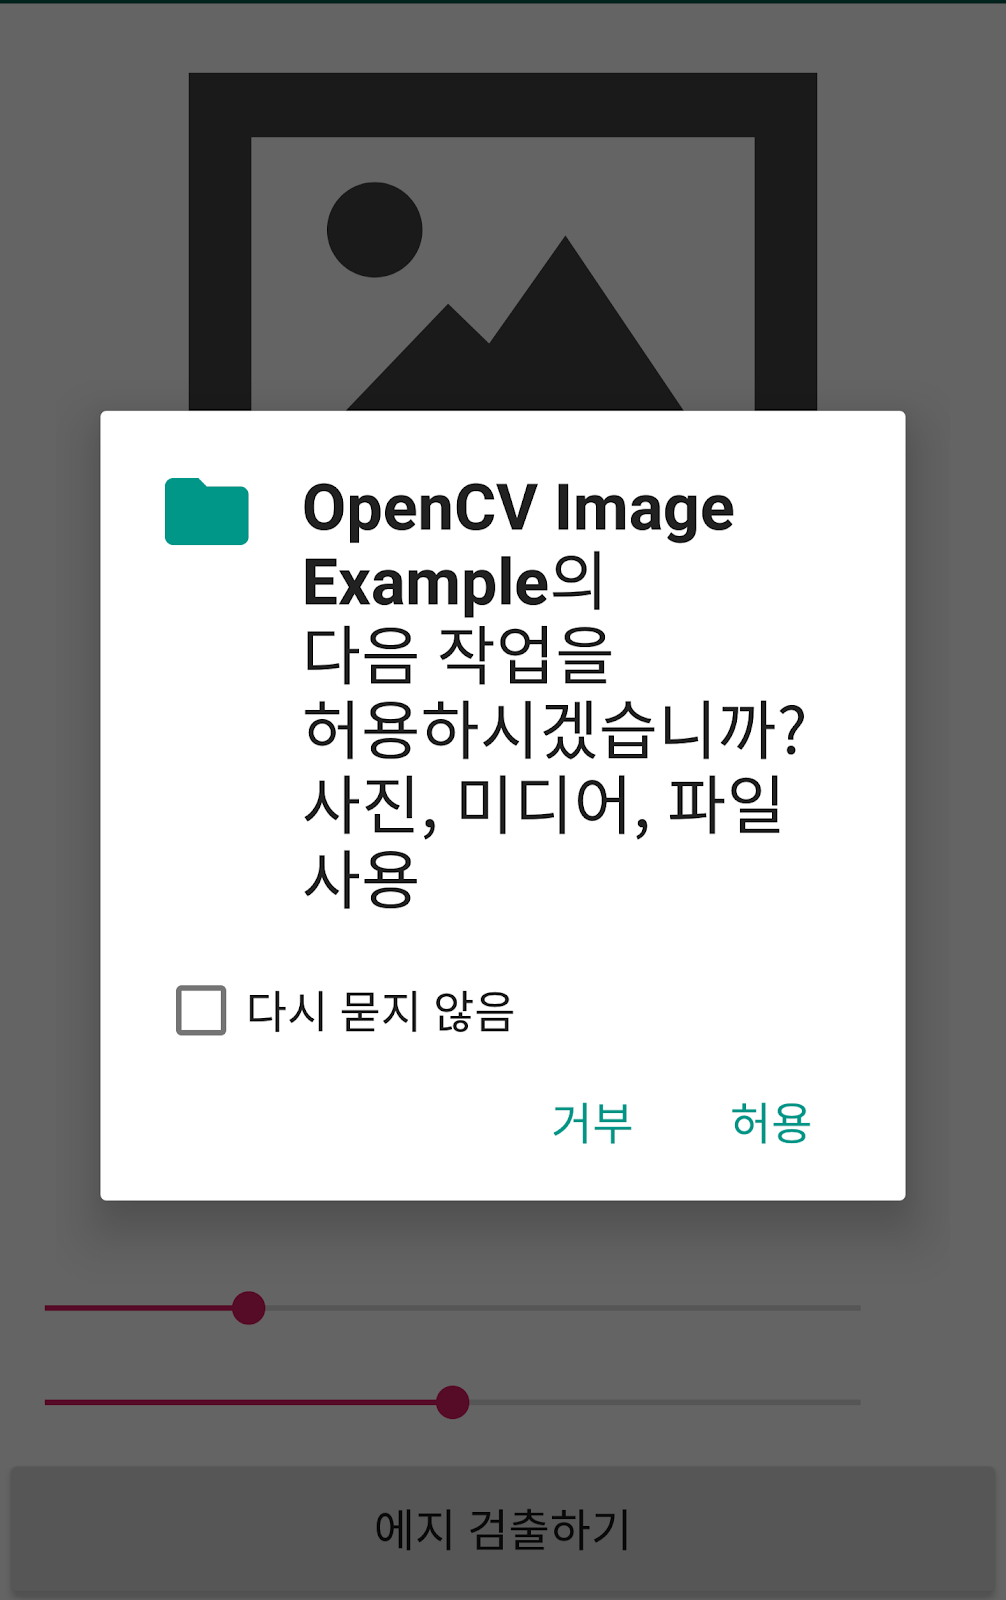
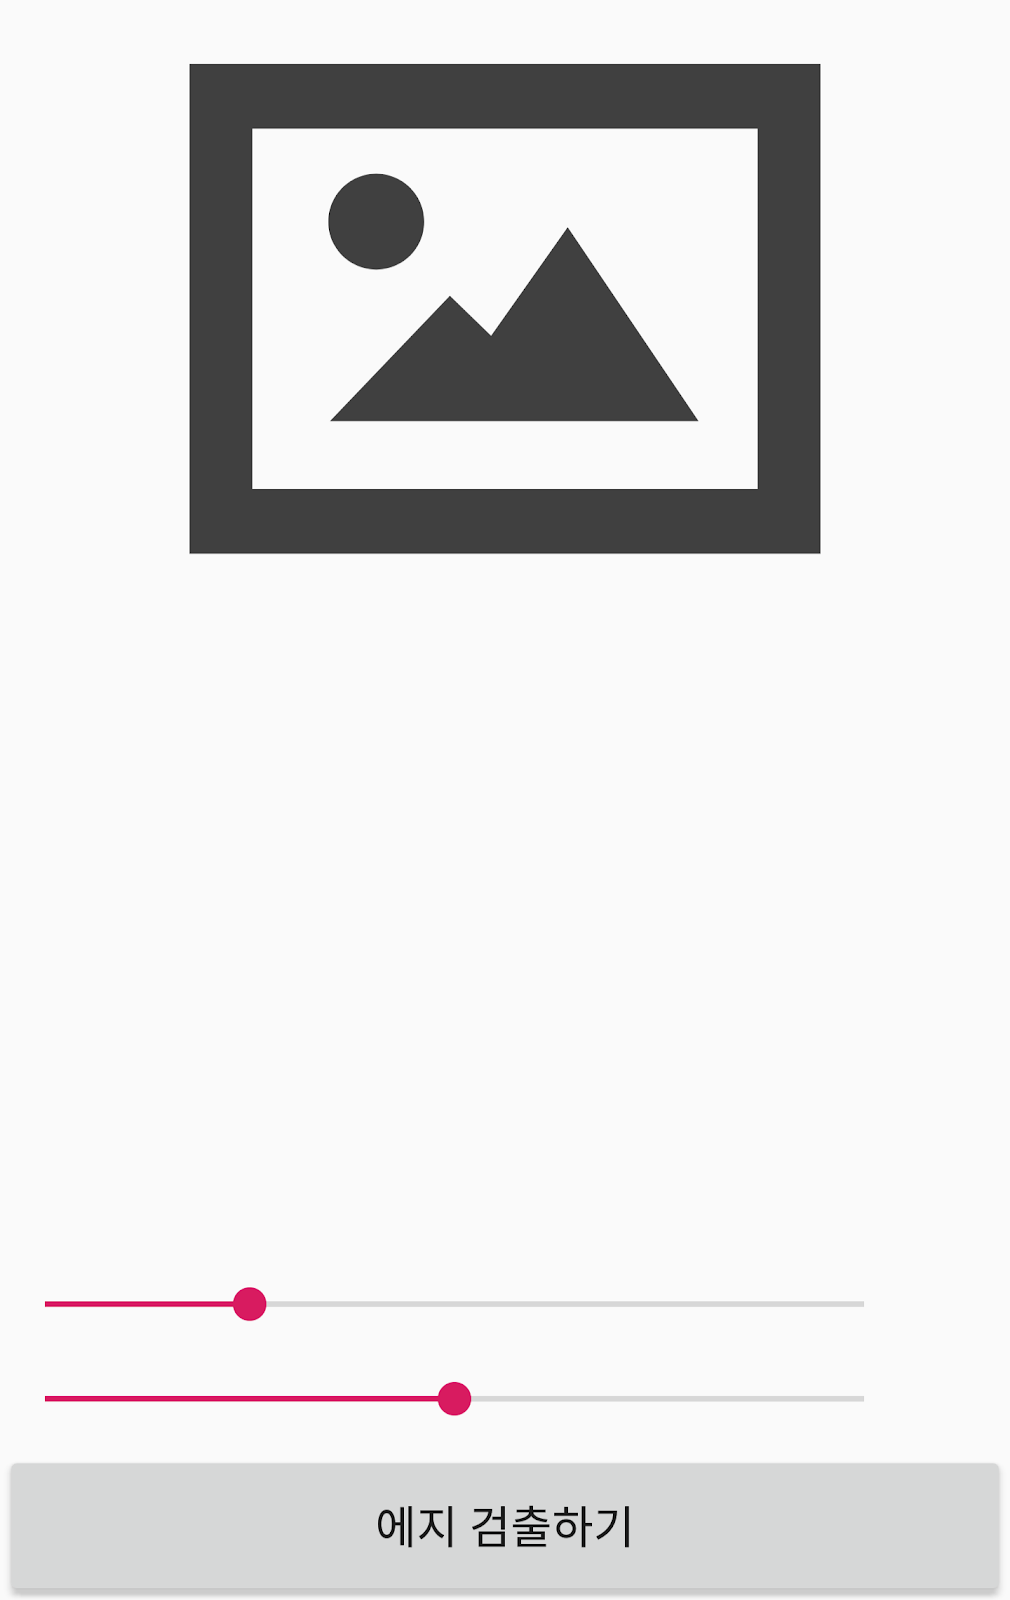
상단에 보이는 디폴트 이미지를 클릭하면 갤러리에서 이미지를 불러올 수 있습니다.
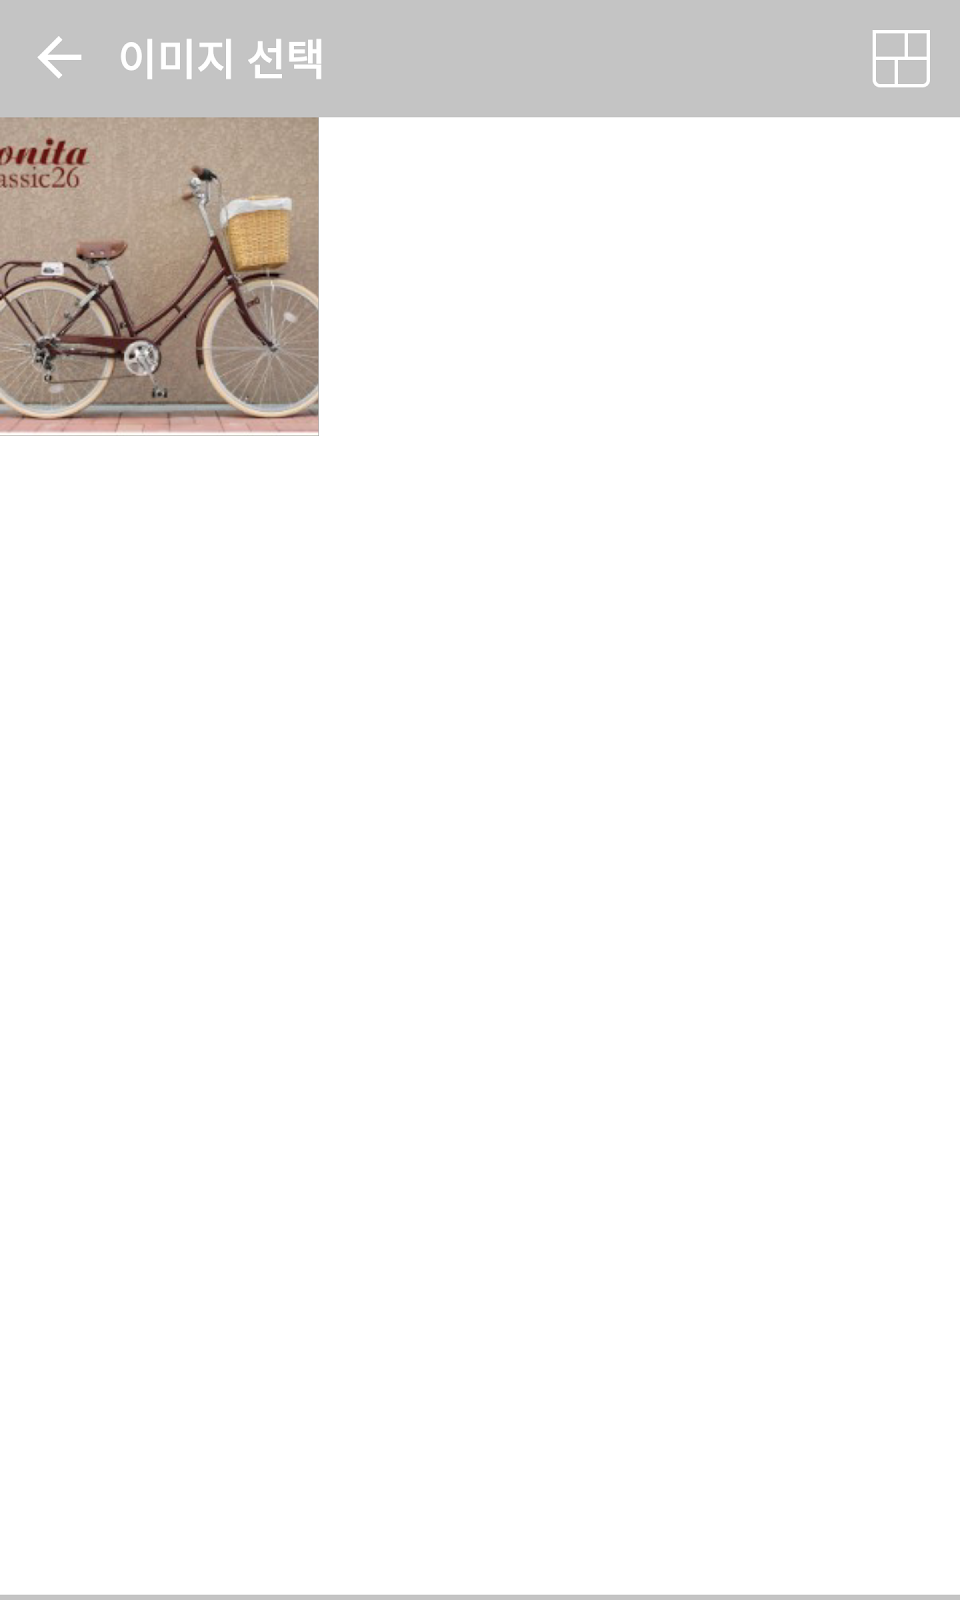
이미지를 불러올 때 사용할 앱을 선택합니다.

갤러리에서 이미지를 선택합니다.
상단에 갤러리에서 선택한 이미지가 보입니다.
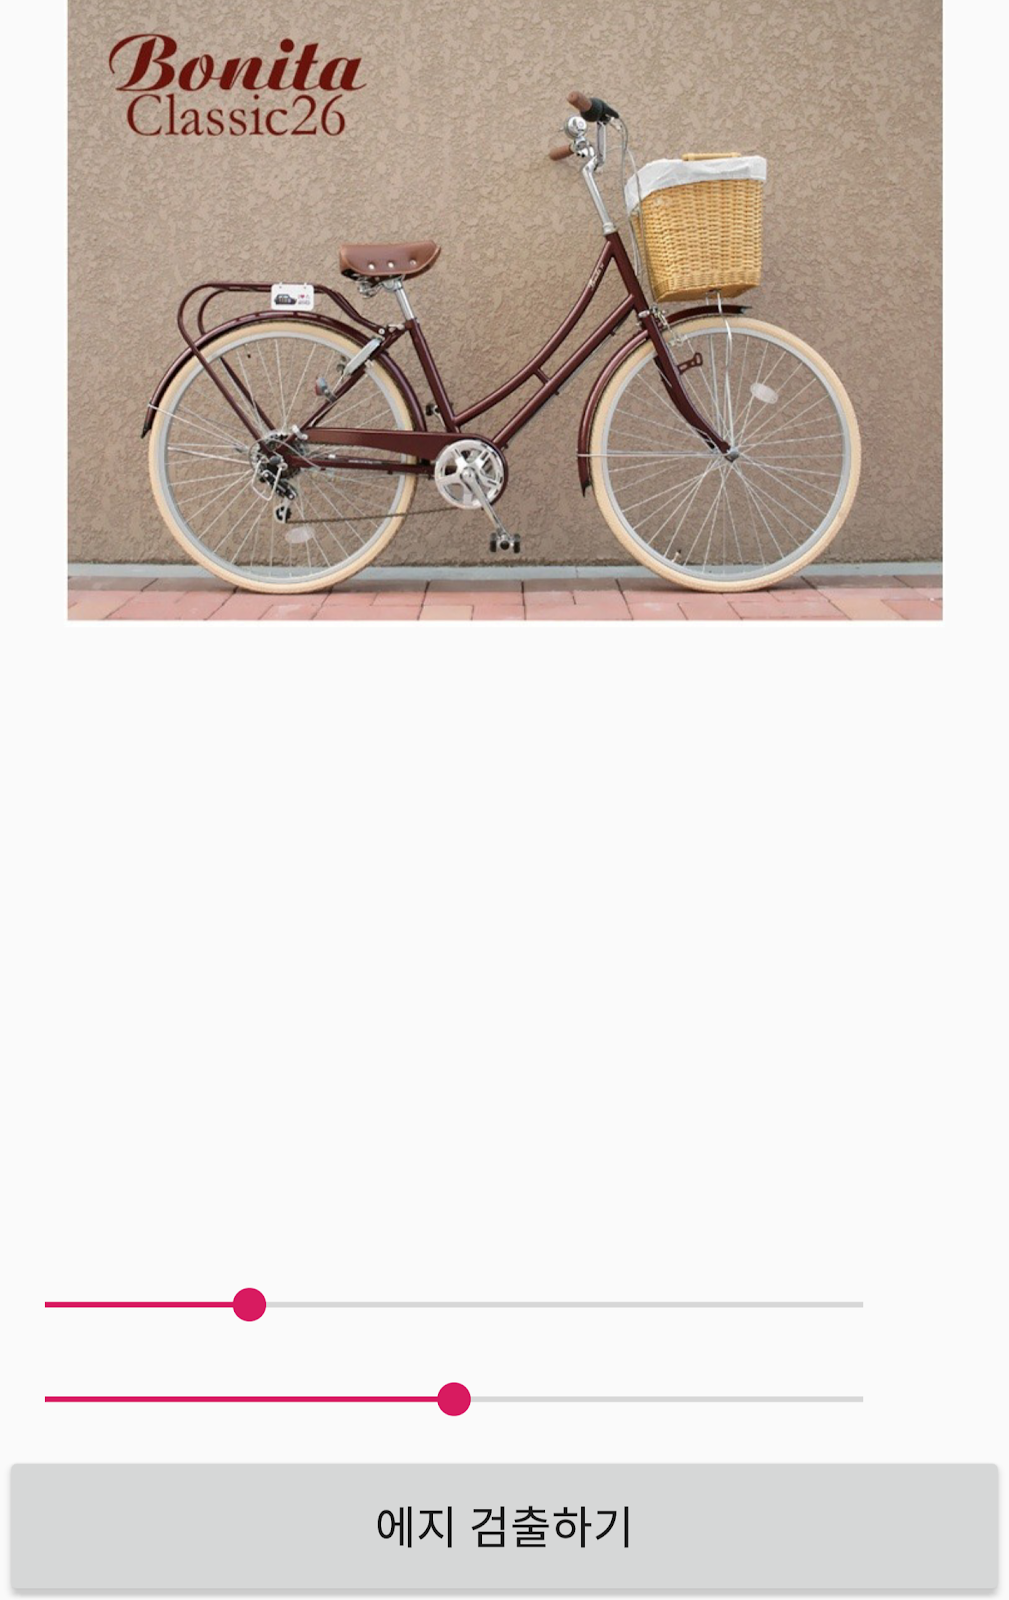
에지 검출하기를 선택하면 영상에서 에지를 검출하여 보여줍니다.
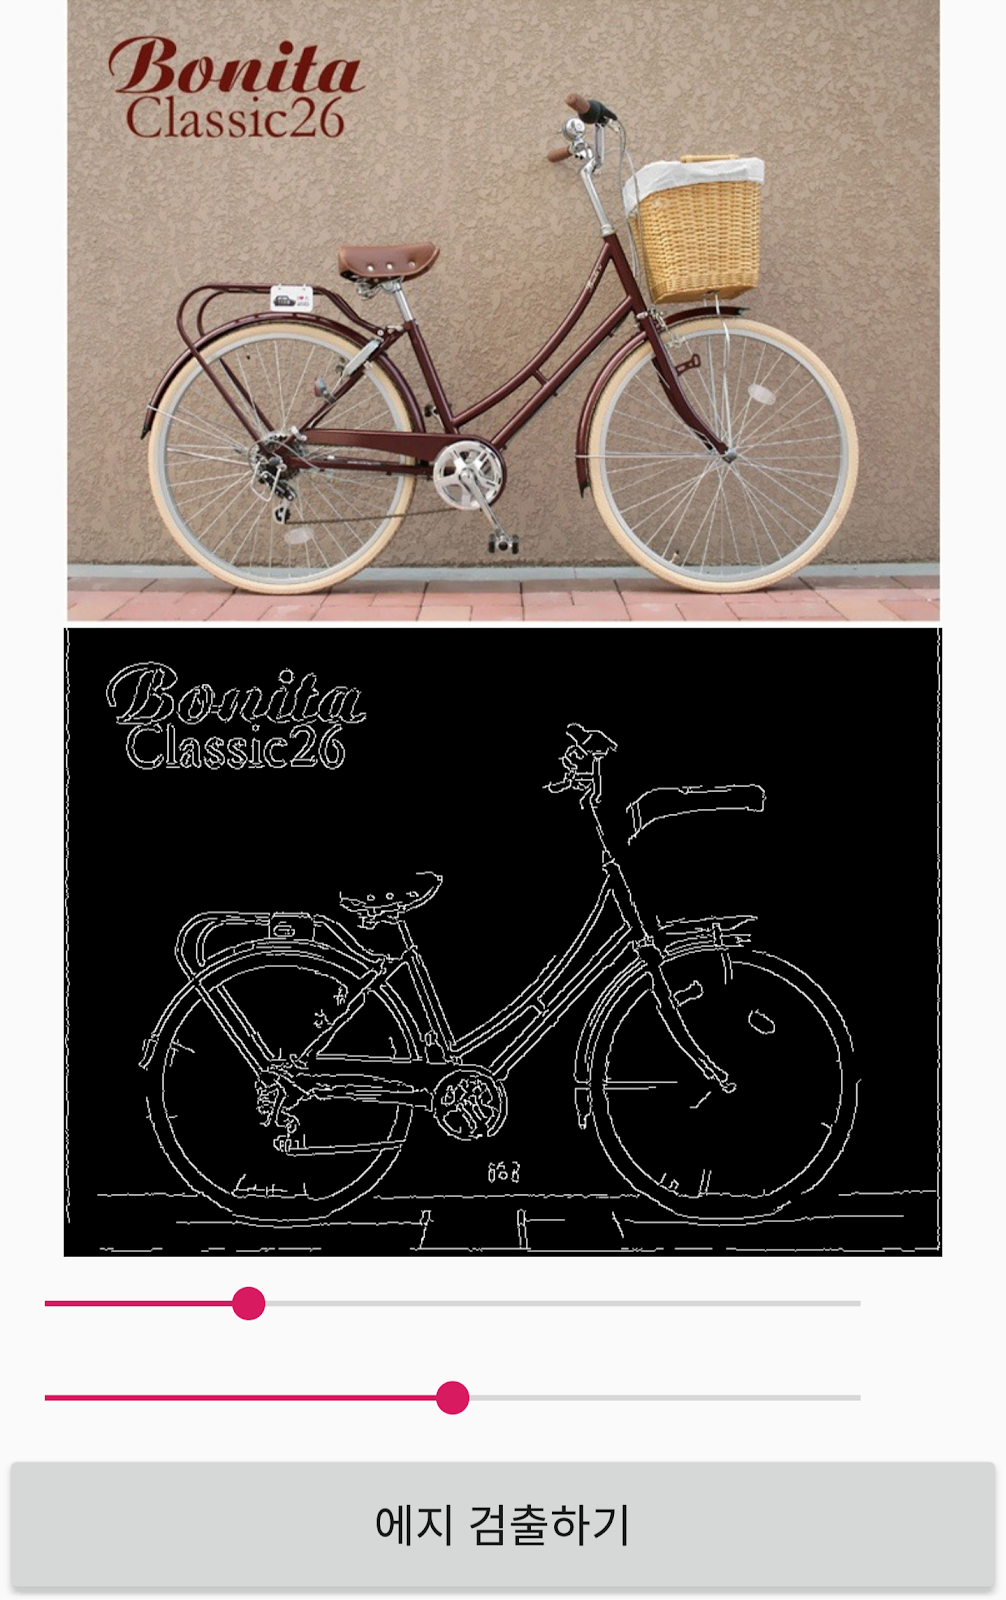
버튼 위에 보이는 두 개의 바를 사용하여 스레숄드 값을 변경할 수 있습니다.
바를 이동할때 마다 해당 스레숄드를 사용한 Canny의 에지 검출 결과를 보여줍니다.

1. 다음 포스팅을 참고하여 안드로이드 프로젝트를 생성합니다.
Android NDK + CMake + OpenCV 카메라 예제 프로젝트 생성방법
https://webnautes.tistory.com/1992
2. AndroidManifest.xml 파일에서 필요없는 권한들을 제거하고 외부 저장소 접근 권한을 추가합니다.
activity 태그에 있던 옵션을 제거합니다.
| <?xml version="1.0" encoding="utf-8"?> <manifest xmlns:android="http://schemas.android.com/apk/res/android" xmlns:tools="http://schemas.android.com/tools"> <uses-permission android:name="android.permission.WRITE_EXTERNAL_STORAGE" /> <application android:allowBackup="true" android:dataExtractionRules="@xml/data_extraction_rules" android:fullBackupContent="@xml/backup_rules" android:icon="@mipmap/ic_launcher" android:label="@string/app_name" android:roundIcon="@mipmap/ic_launcher_round" android:supportsRtl="true" android:theme="@style/Theme.UseOpenCVWithCMake" tools:targetApi="31"> <activity android:name=".MainActivity" android:exported="true"> <intent-filter> <action android:name="android.intent.action.MAIN" /> <category android:name="android.intent.category.LAUNCHER" /> </intent-filter> </activity> </application> </manifest> |
3. build.gradle에서 최소 SDK을 26으로 수정한 후, Sync Now를 클릭하여 적용합니다.
SeekBar에 최소값을 지정하려면 변경해야 합니다.

| android { namespace 'com.tistory.webnautes.useopencvwithcmake' compileSdk 34 defaultConfig { applicationId "com.tistory.webnautes.useopencvwithcmake" minSdk 26 targetSdk 34 versionCode 1 versionName "1.0" testInstrumentationRunner "androidx.test.runner.AndroidJUnitRunner" } |
4. activity_main.xml 파일을 다음 내용으로 대체합니다.
| <?xml version="1.0" encoding="utf-8"?> <LinearLayout xmlns:android="http://schemas.android.com/apk/res/android" xmlns:app="http://schemas.android.com/apk/res-auto" android:orientation="vertical" android:layout_width="match_parent" android:layout_height="match_parent"> <ImageView android:layout_width="match_parent" android:layout_height="0dp" android:layout_weight="0.4" android:id="@+id/imageViewInput" app:srcCompat="@drawable/ic_image"/> <ImageView android:layout_width="match_parent" android:layout_height="0dp" android:layout_weight="0.4" android:id="@+id/imageViewOutput"/> <LinearLayout android:layout_height="0dp" android:layout_weight="0.06" android:layout_width="match_parent" android:orientation="horizontal"> <SeekBar android:id="@+id/seekBar_threshold1" android:layout_width="0dp" android:layout_weight="0.9" android:layout_height="match_parent"/> <TextView android:id="@+id/textView_threshold1" android:layout_width="0dp" android:layout_weight="0.1" android:layout_height="match_parent" /> </LinearLayout> <LinearLayout android:layout_height="0dp" android:layout_weight="0.06" android:layout_width="match_parent" android:orientation="horizontal"> <SeekBar android:id="@+id/seekBar_threshold2" android:layout_width="0dp" android:layout_weight="0.9" android:layout_height="match_parent"/> <TextView android:id="@+id/textView_threshold2" android:layout_width="0dp" android:layout_weight="0.1" android:layout_height="match_parent" /> </LinearLayout> <Button android:id="@+id/button" android:layout_width="match_parent" android:layout_height="0dp" android:layout_weight="0.1" android:text="에지 검출하기" /> </LinearLayout> |
5. MainActivity.java 파일을 다음 내용으로 변경합니다.
붉은색으로 표시되는 imageprocessing 함수에 마우스 커서를 가져가 빨간 전구가 보이면 Create JNI function을 클릭합니다.
| import android.content.DialogInterface; import android.content.Intent; import android.content.pm.PackageManager; import android.database.Cursor; import android.graphics.Bitmap; import android.graphics.Matrix; import android.media.ExifInterface; import android.net.Uri; import android.os.Build; import android.provider.MediaStore; import androidx.annotation.NonNull; import androidx.appcompat.app.AlertDialog; import androidx.appcompat.app.AppCompatActivity; import android.os.Bundle; import android.util.Log; import android.view.View; import android.widget.Button; import android.widget.ImageView; import android.widget.SeekBar; import android.widget.TextView; import org.opencv.android.Utils; import org.opencv.core.Mat; import org.w3c.dom.Text; import java.io.IOException; public class MainActivity extends AppCompatActivity { static { System.loadLibrary("opencv_java4"); System.loadLibrary("native-lib"); } ImageView imageVIewInput; ImageView imageVIewOuput; private Mat img_input; private Mat img_output; private int threshold1=50; private int threshold2=150; private static final String TAG = "opencv"; private final int GET_GALLERY_IMAGE = 200; boolean isReady = false; @Override protected void onCreate(Bundle savedInstanceState) { super.onCreate(savedInstanceState); setContentView(R.layout.activity_main); imageVIewInput = (ImageView)findViewById(R.id.imageViewInput); imageVIewOuput = (ImageView)findViewById(R.id.imageViewOutput); Button Button = (Button)findViewById(R.id.button); Button.setOnClickListener(new View.OnClickListener(){ public void onClick(View v){ imageprocess_and_showResult(threshold1, threshold2); } }); imageVIewInput.setOnClickListener(new View.OnClickListener() { public void onClick(View v) { Intent intent = new Intent(Intent.ACTION_PICK); intent.setData(android.provider.MediaStore.Images.Media.EXTERNAL_CONTENT_URI); intent.setType("image/*"); startActivityForResult(intent, GET_GALLERY_IMAGE); } }); final TextView textView1 = (TextView)findViewById(R.id.textView_threshold1); SeekBar seekBar1=(SeekBar)findViewById(R.id.seekBar_threshold1); seekBar1.setProgress(threshold1); seekBar1.setMax(200); seekBar1.setMin(0); seekBar1.setOnSeekBarChangeListener(new SeekBar.OnSeekBarChangeListener() { @Override public void onProgressChanged(SeekBar seekBar, int progress, boolean fromUser) { threshold1 = progress; textView1.setText(threshold1+""); imageprocess_and_showResult(threshold1, threshold2); } @Override public void onStartTrackingTouch(SeekBar seekBar) { } @Override public void onStopTrackingTouch(SeekBar seekBar) { } }); final TextView textView2 = (TextView)findViewById(R.id.textView_threshold2); SeekBar seekBar2=(SeekBar)findViewById(R.id.seekBar_threshold2); seekBar2.setProgress(threshold2); seekBar2.setMax(200); seekBar2.setMin(0); seekBar2.setOnSeekBarChangeListener(new SeekBar.OnSeekBarChangeListener() { @Override public void onProgressChanged(SeekBar seekBar, int progress, boolean fromUser) { threshold2 = progress; textView2.setText(threshold2+""); imageprocess_and_showResult(threshold1, threshold2); } @Override public void onStartTrackingTouch(SeekBar seekBar) { } @Override public void onStopTrackingTouch(SeekBar seekBar) { } }); if (!hasPermissions(PERMISSIONS)) { //퍼미션 허가를 했었는지 여부를 확인 requestNecessaryPermissions(PERMISSIONS);//퍼미션 허가안되어 있다면 사용자에게 요청 } } @Override protected void onResume() { super.onResume(); isReady = true; } public native void imageprocessing(long inputImage, long outputImage, int th1, int th2); private void imageprocess_and_showResult(int th1, int th2) { if (isReady==false) return; if (img_output == null) img_output = new Mat(); imageprocessing(img_input.getNativeObjAddr(), img_output.getNativeObjAddr(), th1, th2); Bitmap bitmapOutput = Bitmap.createBitmap(img_output.cols(), img_output.rows(), Bitmap.Config.ARGB_8888); Utils.matToBitmap(img_output, bitmapOutput); imageVIewOuput.setImageBitmap(bitmapOutput); } @Override protected void onActivityResult(int requestCode, int resultCode, Intent data) { super.onActivityResult(requestCode, resultCode, data); if (requestCode == GET_GALLERY_IMAGE) { if (data.getData() != null) { Uri uri = data.getData(); try { String path = getRealPathFromURI(uri); int orientation = getOrientationOfImage(path); // 런타임 퍼미션 필요 Bitmap temp = MediaStore.Images.Media.getBitmap(getContentResolver(), uri); Bitmap bitmap = getRotatedBitmap(temp, orientation); imageVIewInput.setImageBitmap(bitmap); img_input = new Mat(); Bitmap bmp32 = bitmap.copy(Bitmap.Config.ARGB_8888, true); Utils.bitmapToMat(bmp32, img_input); } catch (Exception e) { e.printStackTrace(); } } } } private String getRealPathFromURI(Uri contentUri) { String[] proj = {MediaStore.Images.Media.DATA}; Cursor cursor = getContentResolver().query(contentUri, proj, null, null, null); cursor.moveToFirst(); int column_index = cursor.getColumnIndexOrThrow(MediaStore.Images.Media.DATA); return cursor.getString(column_index); } // 출처 - http://snowdeer.github.io/android/2016/02/02/android-image-rotation/ public int getOrientationOfImage(String filepath) { ExifInterface exif = null; try { exif = new ExifInterface(filepath); } catch (IOException e) { Log.d("@@@", e.toString()); return -1; } int orientation = exif.getAttributeInt(ExifInterface.TAG_ORIENTATION, -1); if (orientation != -1) { switch (orientation) { case ExifInterface.ORIENTATION_ROTATE_90: return 90; case ExifInterface.ORIENTATION_ROTATE_180: return 180; case ExifInterface.ORIENTATION_ROTATE_270: return 270; } } return 0; } public Bitmap getRotatedBitmap(Bitmap bitmap, int degrees) throws Exception { if(bitmap == null) return null; if (degrees == 0) return bitmap; Matrix m = new Matrix(); m.setRotate(degrees, (float) bitmap.getWidth() / 2, (float) bitmap.getHeight() / 2); return Bitmap.createBitmap(bitmap, 0, 0, bitmap.getWidth(), bitmap.getHeight(), m, true); } // 퍼미션 코드 static final int PERMISSION_REQUEST_CODE = 1; String[] PERMISSIONS = {"android.permission.WRITE_EXTERNAL_STORAGE"}; private boolean hasPermissions(String[] permissions) { int ret = 0; //스트링 배열에 있는 퍼미션들의 허가 상태 여부 확인 for (String perms : permissions){ ret = checkCallingOrSelfPermission(perms); if (!(ret == PackageManager.PERMISSION_GRANTED)){ //퍼미션 허가 안된 경우 return false; } } //모든 퍼미션이 허가된 경우 return true; } private void requestNecessaryPermissions(String[] permissions) { //마시멜로( API 23 )이상에서 런타임 퍼미션(Runtime Permission) 요청 if (Build.VERSION.SDK_INT >= Build.VERSION_CODES.M) { requestPermissions(permissions, PERMISSION_REQUEST_CODE); } } @Override public void onRequestPermissionsResult(int permsRequestCode, @NonNull String[] permissions, @NonNull int[] grantResults){ switch(permsRequestCode){ case PERMISSION_REQUEST_CODE: if (grantResults.length > 0) { boolean writeAccepted = grantResults[0] == PackageManager.PERMISSION_GRANTED; if (Build.VERSION.SDK_INT >= Build.VERSION_CODES.M) { if (!writeAccepted ) { showDialogforPermission("앱을 실행하려면 퍼미션을 허가하셔야합니다."); return; } } } break; } } private void showDialogforPermission(String msg) { final AlertDialog.Builder myDialog = new AlertDialog.Builder( MainActivity.this); myDialog.setTitle("알림"); myDialog.setMessage(msg); myDialog.setCancelable(false); myDialog.setPositiveButton("예", new DialogInterface.OnClickListener() { public void onClick(DialogInterface arg0, int arg1) { if (Build.VERSION.SDK_INT >= Build.VERSION_CODES.M) { requestPermissions(PERMISSIONS, PERMISSION_REQUEST_CODE); } } }); myDialog.setNegativeButton("아니오", new DialogInterface.OnClickListener() { public void onClick(DialogInterface arg0, int arg1) { finish(); } }); myDialog.show(); } } |
6. native-lib.cpp 파일을 다음처럼 수정합니다. 흰색은 새로 추가하고 파란색 부분은 주석처리합니다.
| #include <jni.h> #include <opencv2/opencv.hpp> using namespace cv; //extern "C" //JNIEXPORT void JNICALL //Java_com_tistory_webnautes_useopencvwithcmake_MainActivity_ConvertRGBtoGray(JNIEnv *env, // jobject instance, // jlong matAddrInput, // jlong matAddrResult) { // // // // // 입력 RGBA 이미지를 GRAY 이미지로 변환 // Mat &matInput = *(Mat *)matAddrInput; // Mat &matResult = *(Mat *)matAddrResult; // // cvtColor(matInput, matResult, COLOR_RGBA2GRAY); // // //} extern "C" JNIEXPORT void JNICALL Java_com_tistory_webnautes_useopencvwithcmake_MainActivity_imageprocessing(JNIEnv *env, jobject thiz, jlong input_image, jlong output_image, jint th1, jint th2) { Mat &img_input = *(Mat *) input_image; Mat &img_output = *(Mat *) output_image; cvtColor( img_input, img_output, COLOR_RGB2GRAY); blur( img_output, img_output, Size(5,5) ); Canny( img_output, img_output, th1, th2); } |
7. 아래 첨부된 svg 이미지를 다운로드 받습니다.
svg 이미지를 프로젝트의 drawable 폴더에 추가해야 합니다.
프로젝트 창에서 app을 선택하고 마우스 오른쪽 버튼을 클릭했을 때
보이는 메뉴에서 New > Vector Asset를 선택합니다.
다음 항목들을 선택하고 Next 버튼을 클릭합니다.
Asset Type 항목에서 Local file(SVG, PSD)를 선택합니다.
Path 항목에 있는 폴더 아이콘을 클릭하여 다운로드 받아둔 SVG 이미지 파일을 선택합니다.

Finish 버튼을 클릭하면 SVG 파일이 프로젝트에 추가됩니다.

8. 퍼미션 문제로 build.gradle에서 targetSdk를 32로 낮춰야 합니다.
| android { namespace 'com.tistory.webnautes.useopencvwithcmake' compileSdk 34 defaultConfig { applicationId "com.tistory.webnautes.useopencvwithcmake" minSdk 26 targetSdk 32 versionCode 1 versionName "1.0" testInstrumentationRunner "androidx.test.runner.AndroidJUnitRunner" } |
9. 이제 폰에 올려서 확인해보면 됩니다.
'OpenCV > Android 개발 환경 및 예제' 카테고리의 다른 글
| Android NDK + OpenCV 카메라 예제 및 프로젝트 생성방법(ndk-build 사용) (342) | 2023.12.03 |
|---|---|
| Android NDK + CMake + OpenCV 카메라 예제 프로젝트 생성방법 (1) | 2023.11.26 |
| OpenCV, Android, NDK 를 사용하여 Android에서 Face Detection(얼굴 검출) (7) | 2023.10.14 |
| Android 용으로 OpenCV 4.4.0 빌드하는 방법 (Build OpenCV 4.4.0 for Android ) (255) | 2020.09.27 |
| OpenCV 강좌 - 안드로이드 폰에서 딥러닝 네트워크(deep learning network) 실행하기 (Caffe) (10) | 2019.08.27 |
시간날때마다 틈틈이 이것저것 해보며 블로그에 글을 남깁니다.
블로그의 문서는 종종 최신 버전으로 업데이트됩니다.
여유 시간이 날때 진행하는 거라 언제 진행될지는 알 수 없습니다.
영화,책, 생각등을 올리는 블로그도 운영하고 있습니다.
https://freewriting2024.tistory.com
제가 쓴 책도 한번 검토해보세요 ^^


