
Ubuntu에 GStreamer 설치하고 웹캠 영상 가져와보기Gstreamer2023. 10. 18. 21:35
Table of Contents
반응형
Ubuntu에 GStreamer를 설치하고 웹캠에서 영상을 가져와 화면에 출력해봅니다.
보다 자세한 내용은 GStreamer 홈페이지에 있는 튜토리얼 문서를 참고하세요.
https://gstreamer.freedesktop.org/documentation/tutorials/index.html?gi-language=c
2020. 7. 11 최초작성
2022. 9. 12 v4l2src 플러그인 사용하도록 수정
2023. 1. 21 설치 패키지에서 gstreamer1.0-doc 제거
우선 진행하기 전에 패키지 목록을 업데이트합니다.
| $ sudo apt update |
GStreamer를 설치합니다.
| $ sudo apt install libgstreamer1.0-0 libgstreamer1.0-dev gstreamer1.0-tools gstreamer1.0-x gstreamer1.0-plugins-base gstreamer1.0-plugins-good gstreamer1.0-plugins-bad gstreamer1.0-plugins-ugly gstreamer1.0-alsa gstreamer1.0-libav gstreamer1.0-gl gstreamer1.0-gtk3 gstreamer1.0-qt5 gstreamer1.0-pulseaudio libgstreamer-plugins-base1.0-dev |
다음 처럼 설치된 GStreamer의 버전을 확인할 수 있습니다.
| $ gst-inspect-1.0 --version |
gst-inspect-1.0 version 1.16.3
GStreamer 1.16.3
https://launchpad.net/distros/ubuntu/+source/gstreamer1.0
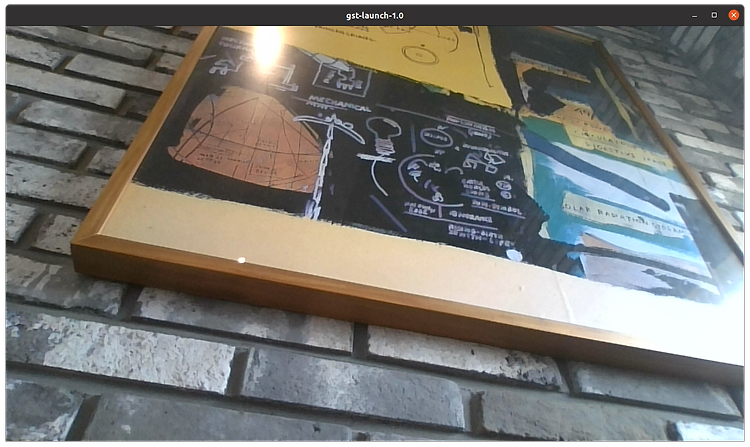
터미널에서 GStreamer에서 제공하는 gst-launch-1.0을 사용하여 웹캠 영상을 가져와 화면에 출력해봅니다.
v4l2src 플러그인에서 웹캠(/dev/video0)로부터 영상을 가져와 전달하면 audiovideosink 플러그인이 영상을 화면에 출력해줍니다.
| $ gst-launch-1.0 v4l2src device=/dev/video0 ! autovideosink |

간단한 코드를 작성하여 웹캠 영상을 가져와 봅니다.
다음 코드를 gstreamer_example.cpp 이름으로 저장합니다.
| #include <gst/gst.h> #include <iostream> using namespace std; int main() { GstElement *pipeline, *source, *sink; GstBus *bus; GstMessage *msg; GstStateChangeReturn ret; gst_init(NULL, NULL); pipeline = gst_pipeline_new ("pipeline"); source = gst_element_factory_make ("v4l2src", "source"); sink = gst_element_factory_make ("autovideosink", "sink"); if (!pipeline || !source || !sink) { cout << "not all elements created: pipeline["<< !pipeline<< "]" << "source["<< !source<< "]" << "sink["<< !sink << "]" << endl; return -1; } g_object_set(G_OBJECT(source), "device", "/dev/video0", NULL); g_object_set(G_OBJECT (sink), "sync", FALSE, NULL); gst_bin_add_many (GST_BIN (pipeline), source, sink, NULL); if (gst_element_link (source, sink) != TRUE) { cout << "Elements could not be linked." << endl; gst_object_unref (pipeline); return -1; } ret = gst_element_set_state (pipeline, GST_STATE_PLAYING); if (ret == GST_STATE_CHANGE_FAILURE) { cout << "Unable to set the pipeline to the playing state." << endl; gst_object_unref (pipeline); return -1; } bus = gst_element_get_bus (pipeline); cout << "press CTRL + C" << endl; while(1); gst_object_unref (bus); gst_element_set_state (pipeline, GST_STATE_NULL); gst_object_unref (pipeline); } |
컴파일 하여 실행하면 웹캠 영상을 화면에 보여줍니다.
| $ g++ gstreamer_example.cpp -o gstreamer_example `pkg-config --cflags --libs gstreamer-1.0` $ ./gstreamer_example |
참고한 곳
반응형
'Gstreamer' 카테고리의 다른 글
| OpenCV + GStreamer로 만드는 RTSP Streaming (0) | 2024.01.14 |
|---|---|
| GStreamer를 RTSP Client로 사용시 패스워드에 @가 포함되어 있다면 인증 에러가 발생합니다. (0) | 2023.10.14 |
| Visual Studo 2019에서 GStreamer 사용하기 (0) | 2023.10.14 |
| Visual Studio 프로젝트의 코드에서 Gstreamer 플러그인 위치 지정 (0) | 2023.10.13 |
시간날때마다 틈틈이 이것저것 해보며 블로그에 글을 남깁니다.
블로그의 문서는 종종 최신 버전으로 업데이트됩니다.
여유 시간이 날때 진행하는 거라 언제 진행될지는 알 수 없습니다.
영화,책, 생각등을 올리는 블로그도 운영하고 있습니다.
https://freewriting2024.tistory.com
제가 쓴 책도 한번 검토해보세요 ^^


