매터리얼(Material) 컴포넌트인 MaterialButton를 사용하여 모서리가 둥근 버튼을 만드는 방법입니다.
1. build.gradle에 com.android.support:design을 추가합니다.
dependencies {
implementation fileTree(dir: 'libs', include: ['*.jar'])
implementation 'com.android.support:appcompat-v7:28.0.0'
implementation 'com.android.support.constraint:constraint-layout:1.1.3'
implementation 'com.android.support:design:28.0.0'
testImplementation 'junit:junit:4.12'
androidTestImplementation 'com.android.support.test:runner:1.0.2'
androidTestImplementation 'com.android.support.test.espresso:espresso-core:3.0.2'
} |
2. styles.xml에서 사용중인 테마가 Theme.MaterialComponents.Light.DarkActionBar를 상속받도록 수정합니다.
<resources>
<!-- Base application theme. -->
<style name="AppTheme" parent="@style/Theme.MaterialComponents.Light.DarkActionBar">
<!-- Customize your theme here. -->
<item name="colorPrimary">@color/colorPrimary</item>
<item name="colorPrimaryDark">@color/colorPrimaryDark</item>
<item name="colorAccent">@color/colorAccent</item>
</style>
</resources> |
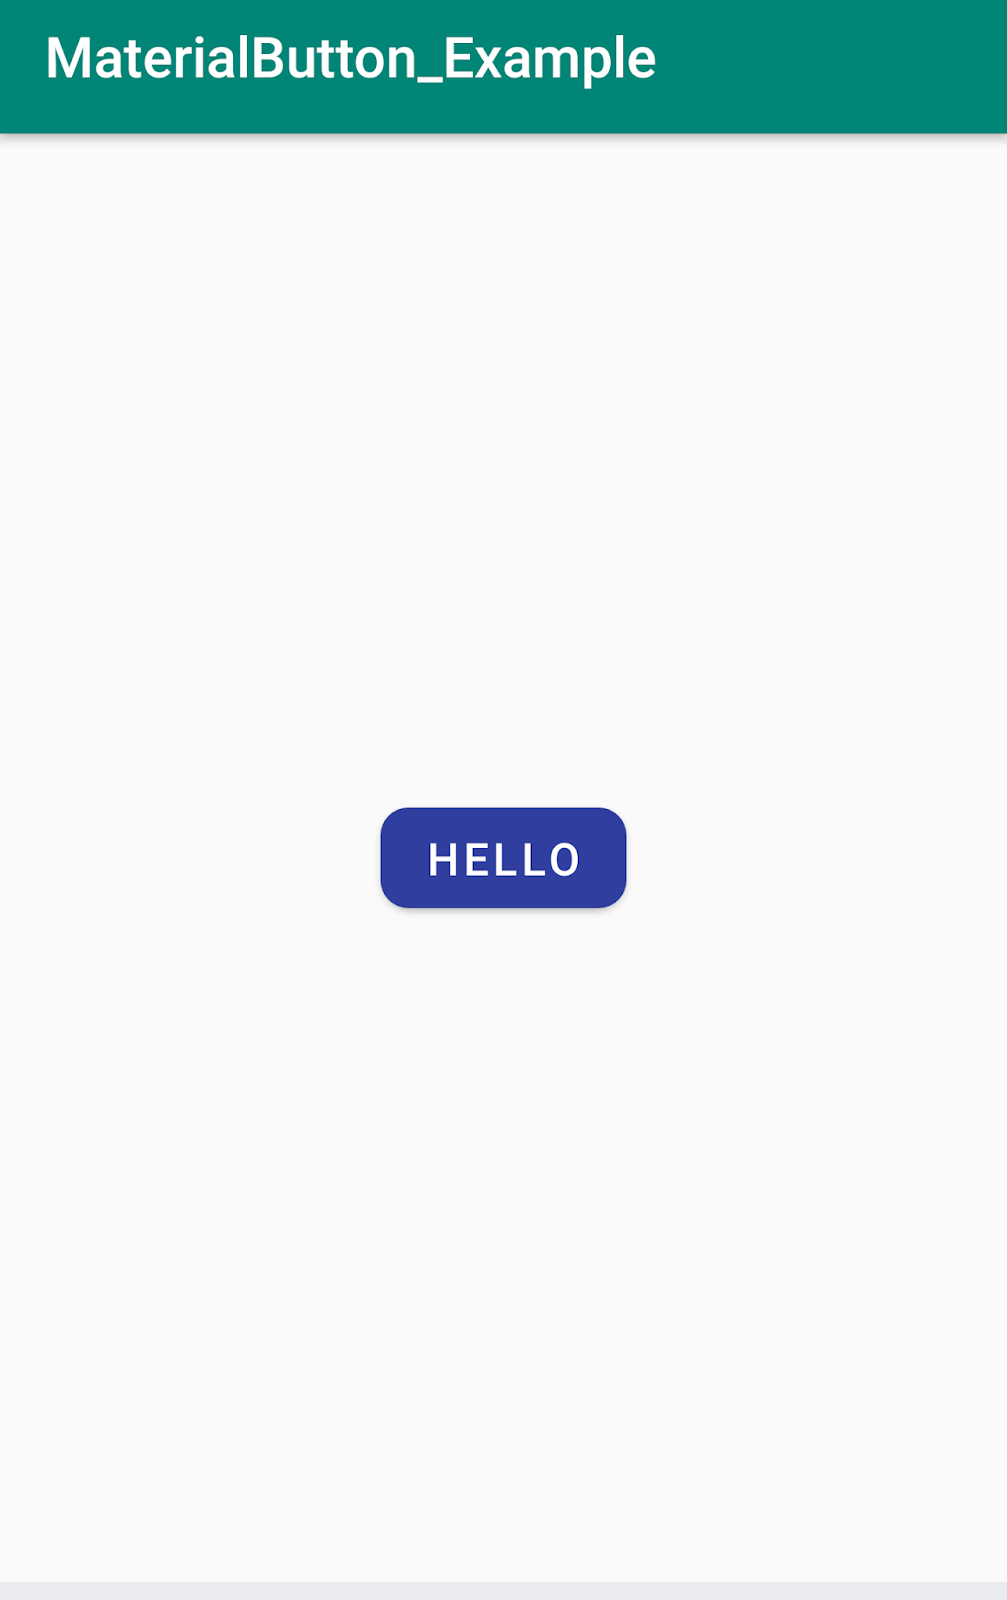
3. activity_main.xml 레이아웃 파일에 MaterialButton을 추가합니다.
버튼의 배경색은 app:backgroundTint 속성을, 모서리 둥근 정도는 app:cornerRadius 속성을 수정하면 됩니다.
<?xml version="1.0" encoding="utf-8"?>
<android.support.constraint.ConstraintLayout xmlns:android="http://schemas.android.com/apk/res/android"
xmlns:app="http://schemas.android.com/apk/res-auto"
xmlns:tools="http://schemas.android.com/tools"
android:layout_width="match_parent"
android:layout_height="match_parent"
tools:context=".MainActivity">
<android.support.design.button.MaterialButton
android:id="@+id/button"
android:layout_width="wrap_content"
android:layout_height="wrap_content"
app:backgroundTint="@color/design_default_color_primary_dark"
android:text="Hello"
app:cornerRadius="10dp"
app:layout_constraintBottom_toBottomOf="parent"
app:layout_constraintLeft_toLeftOf="parent"
app:layout_constraintRight_toRightOf="parent"
app:layout_constraintTop_toTopOf="parent" />
</android.support.constraint.ConstraintLayout> |
4. MainActivity.java에 버튼 클릭시 동작을 작성합니다.
package com.tistory.webnautes.materialbutton_example;
import android.content.Intent;
import android.support.design.button.MaterialButton;
import android.support.v7.app.AppCompatActivity;
import android.os.Bundle;
import android.view.View;
import android.widget.Toast;
public class MainActivity extends AppCompatActivity {
@Override
protected void onCreate(Bundle savedInstanceState) {
super.onCreate(savedInstanceState);
setContentView(R.layout.activity_main);
MaterialButton button = (MaterialButton) findViewById(R.id.button);
button.setOnClickListener(new View.OnClickListener() {
@Override
public void onClick(View v) {
Toast.makeText(MainActivity.this, "Hello World", Toast.LENGTH_LONG).show();
}
});
}
} |
매터리얼 버튼 관련 속성 정보는 다음 링크를 참고하세요.
https://github.com/material-components/material-components-android/blob/master/docs/components/MaterialButton.md
참고
https://material.io/develop/android/docs/getting-started/
https://stackoverflow.com/questions/26346727/android-material-design-button-styles


