

라즈베리파이 4에 캐릭터 LCD를 연결하여 사용하는 방법을 설명합니다.
2017. 02. 19 최초작성
2021. 02. 05 라즈베리파이 4에서 진행
필요한 부품은 다음과 같습니다.
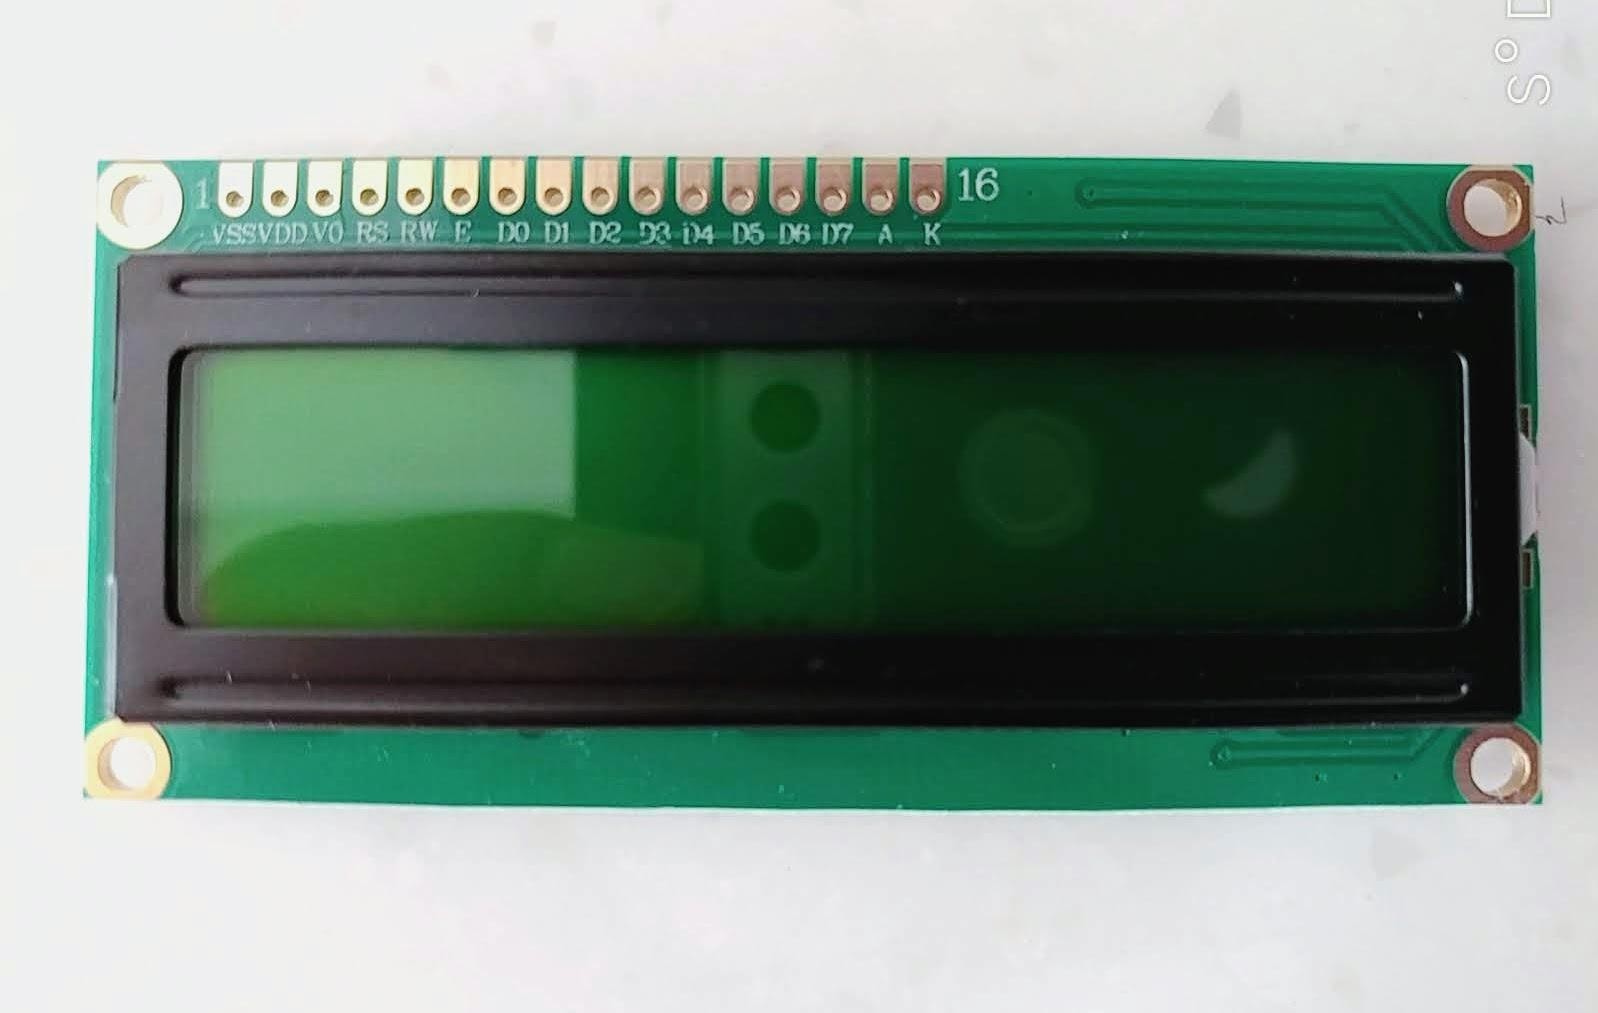
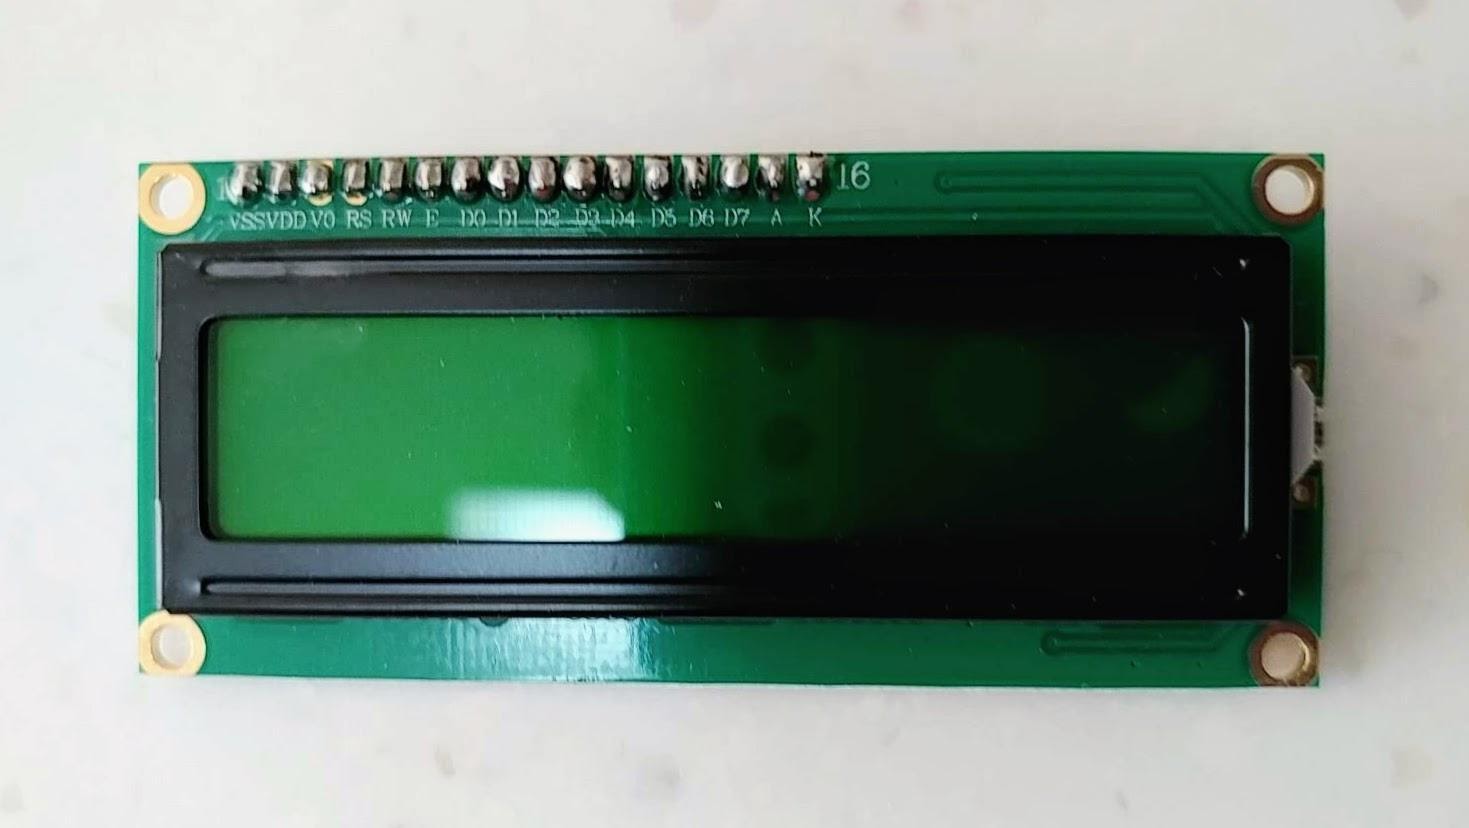
- 캐릭터 LCD 1602
- 핀헤더 1 x 40p, 2.54mm

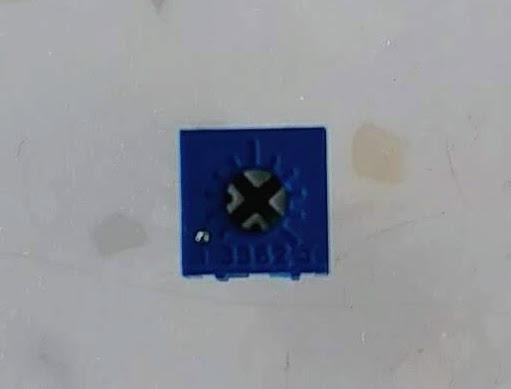
- 가변저항 10K ohm
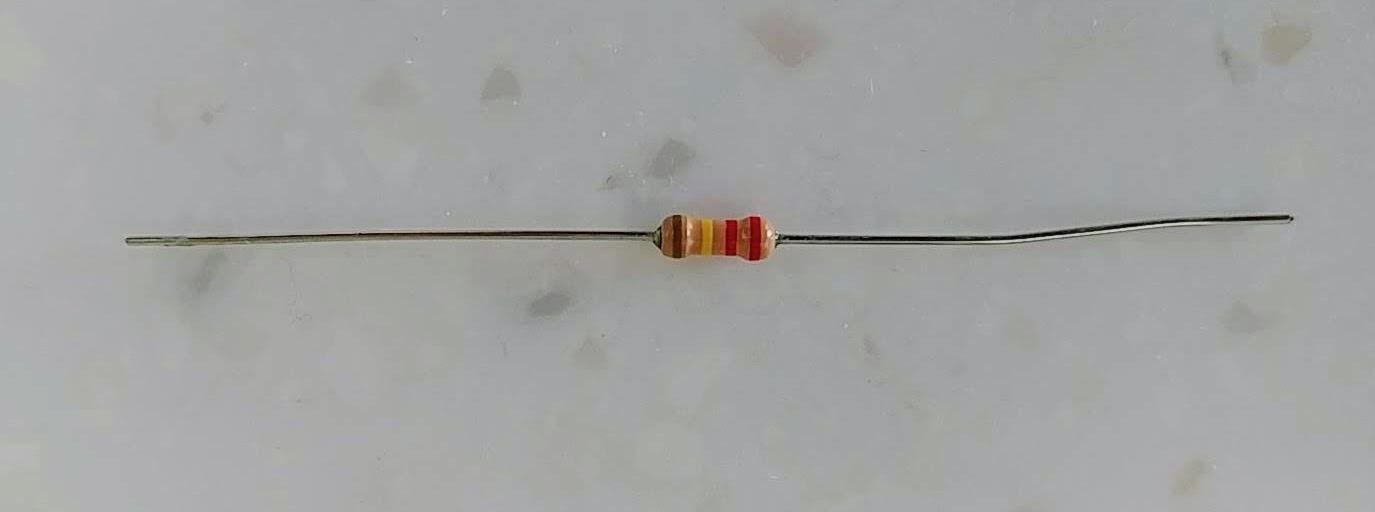
- 저항 220 ohm, ¼ W
잘못 주문해서 220K ohm을 받았지만 다행히 캐릭터 LCD가 동작 하네요.
- 점퍼선 Male - Female
캐릭터 LCD에 핀헤더를 납땜해줘야 합니다. 핀헤더 16개핀을 잘라서 캐릭터 LCD에 연결합니다.
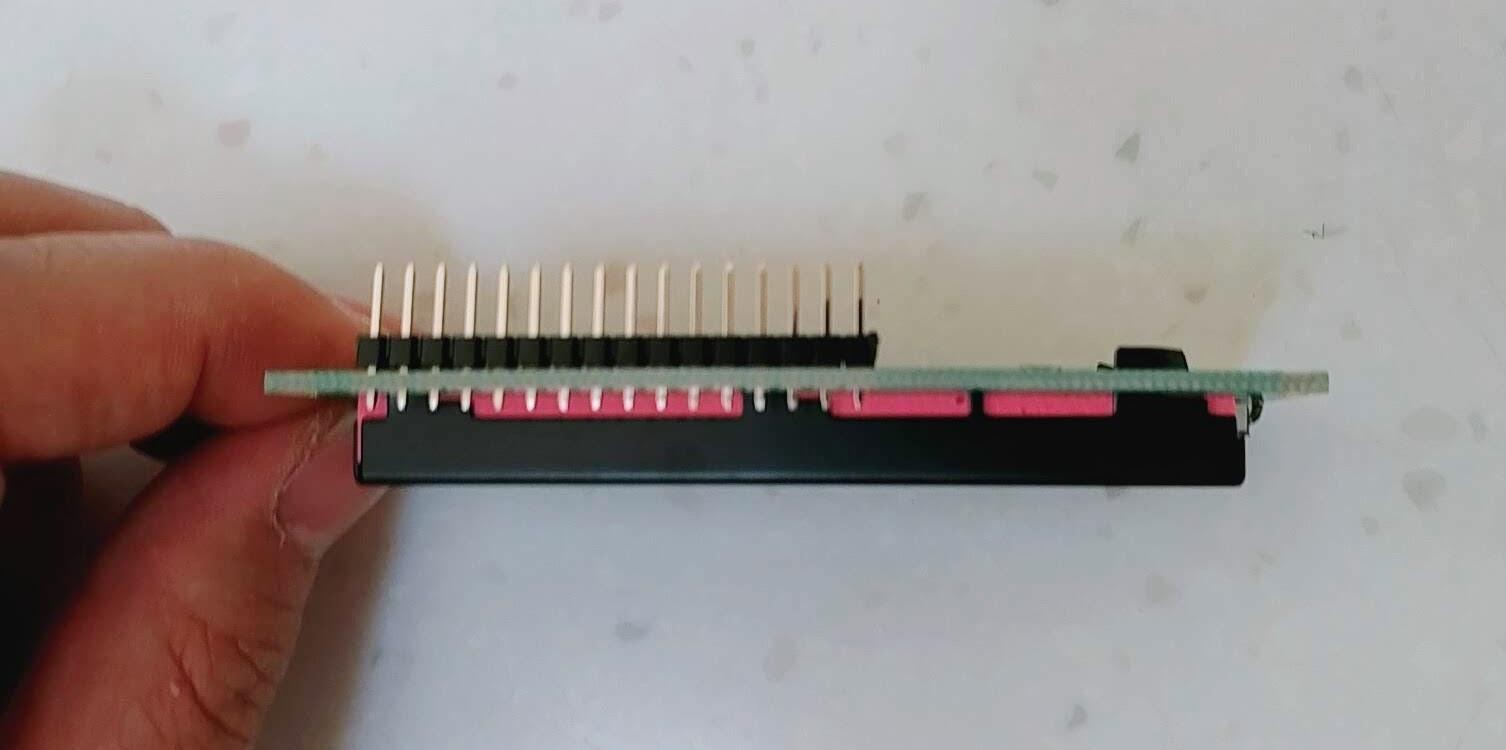
인두기로 납땜해서 고정시켜 줍니다.
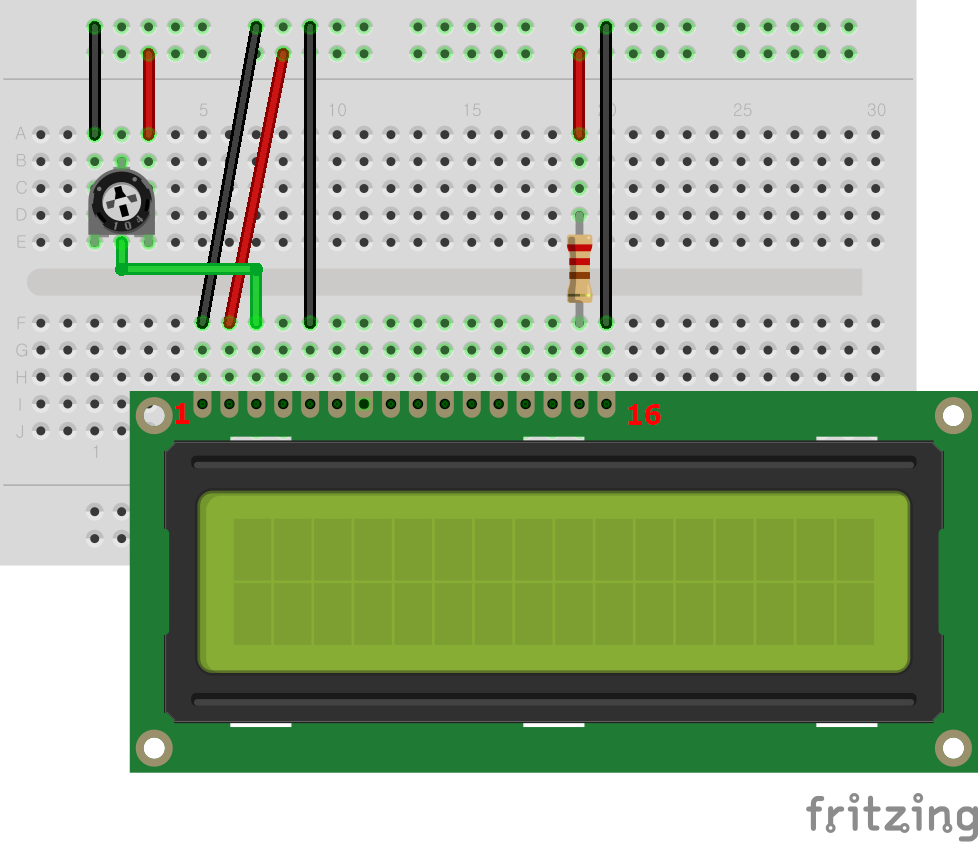
다음처럼 부품들을 브레드보드에 연결해줍니다.
나중에 검은색 선이 있는 라인은 ground, 빨간색 선이 있는 라인은 5V에 연결되게 됩니다.
라즈베리파이4와 브레드보드에 연결된 캐릭터 LCD를 다음과 같이 연결합니다.
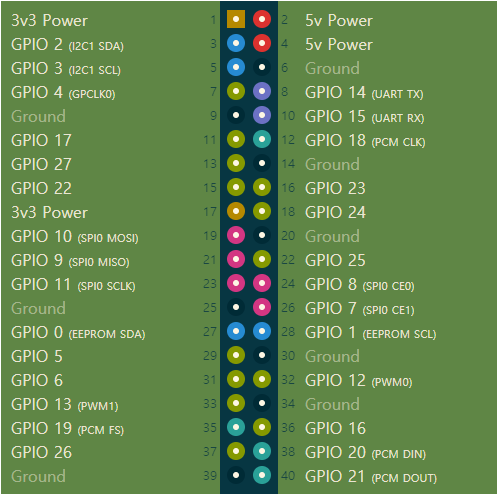
아래 있는 Raspberry Pi 4의 pinout을 참고하세요. LCD는 위 그림에 왼쪽이 1번, 오른쪽 끝이 16번이라고 적어놓았습니다.
브레드보드의 ground -------------- 6번핀(ground)
브레드보드의 5V -------------- 2번핀(+5V)
LCD 4번핀(RS) -------------- 26번핀(GPIO 7)
LCD 6번핀(EN,E) -------------- 24번핀(GPIO 8)
LCD 11번핀(D4) -------------- 11번핀(GPIO 17)
LCD 12번핀(D5) -------------- 12번핀(GPIO 18)
LCD 13번핀(D6) -------------- 13번핀(GPIO 27)
LCD 14번핀(D7) -------------- 15번핀(GPIO 22)
Raspberry Pi 4의 pinout입니다.
다음처럼 예제 코드를 컴파일하여 실행합니다.
pi@raspberrypi:~ $ gcc lcd.c -o lcd -lwiringPi -lwiringPiDev
pi@raspberrypi:~ $ ./lcd
첫번째 줄에 문자열이 스크롤 되고 두번째 줄에 현재 시간이 표시됩니다.
본 포스트에서 사용한 코드입니다.
#include <stdio.h>

#include <stdlib.h>

#include <stdint.h>


#include <unistd.h>

#include <string.h>

#include <time.h>


#include <wiringPi.h>

#include <lcd.h>


#ifndef TRUE

#  define       TRUE    (1==1)

#  define       FALSE   (1==2)

#endif


// Global lcd handle:


static int lcdHandle ;


/*

 * scrollMessage:

 *********************************************************************************

 */


static const char *message =

  "                    "

  "Wiring Pi by Gordon Henderson. HTTP://WIRINGPI.COM/"

  "                    " ;


void scrollMessage (int line, int width)

{

  char buf [32] ;

  static int position = 0 ;

  static int timer = 0 ;


  if (millis () < timer)

    return ;


  timer = millis () + 200 ;


  strncpy (buf, &message [position], width) ;

  buf [width] = 0 ;

  lcdPosition (lcdHandle, 0, line) ;

  lcdPuts     (lcdHandle, buf) ;


  if (++position == (strlen (message) - width))

    position = 0 ;

}


/*

 * waitForEnter:

 *********************************************************************************

 */


static void waitForEnter (void)

{

  printf ("Press ENTER to continue: ") ;

  (void)fgetc (stdin) ;

}


/*

 * The works

 *********************************************************************************

 */


int main (int argc, char *argv[])

{

  int i ;

  int lcd ;

  int bits, rows, cols ;


  struct tm *t ;

  time_t tim ;


  char buf [32] ;


  bits = 4;//GPIO 4개 핀 이용

  cols = 16;//1602

  rows = 2;


  wiringPiSetup () ;


  //RPI4 GPIO 7 --- LCD RS  pin --- wiringPi Pin 11

  //RPI4 GPIO 8 --- LCD  E  pin --- wiringPi Pin 10

  //RPI4 GPIO 17 --- LCD D4  pin --- wiringPi Pin 0

  //RPI4 GPIO 18 --- LCD D5  pin --- wiringPi Pin 1

  //RPI4 GPIO 27 --- LCD D6  pin --- wiringPi Pin 2

  //RPI4 GPIO 22 --- LCD D7  pin --- wiringPi Pin 3

  lcdHandle = lcdInit (rows, cols, 4, 11, 10, 0,1,2,3,0,0,0,0) ;


  if (lcdHandle < 0)

  {

    fprintf (stderr, "%s: lcdInit failed\n", argv [0]) ;

    return -1 ;

  }


  //간단히 2줄 출력하기

  //lcdPosition (lcdHandle, 0, 0) ; lcdPuts (lcdHandle, "Gordon Henderson") ;

  //lcdPosition (lcdHandle, 0, 1) ; lcdPuts (lcdHandle, "  wiringpi.com  ") ;


  //waitForEnter () ;//사용자 입력대기


  lcdCursor      (lcdHandle, FALSE) ;

  lcdCursorBlink (lcdHandle, FALSE) ;

  lcdClear       (lcdHandle) ;


  //스크롤하는 메시지와 시계출력하기

  for (;;)

  {

    scrollMessage (0, cols) ;


    if (rows == 1)

      continue ;


    tim = time (NULL) ;

    t = localtime (&tim) ;


    sprintf (buf, "%02d:%02d:%02d", t->tm_hour, t->tm_min, t->tm_sec) ;


    lcdPosition (lcdHandle, (cols - 8) / 2, 1) ;

    lcdPuts     (lcdHandle, buf) ;


    if (rows == 2)

      continue ;


    sprintf (buf, "%02d/%02d/%04d", t->tm_mday, t->tm_mon + 1, t->tm_year+1900) ;


    lcdPosition (lcdHandle, (cols - 10) / 2, 2) ;

    lcdPuts     (lcdHandle, buf) ;


  }


  return 0 ;

}
참고
http://wiringpi.com/dev-lib/lcd-library/
'Raspberry Pi > Raspberry Pi 활용' 카테고리의 다른 글
| C언어로 Raspberry Pi 3의 GPIO 레지스터 접근하여 LED켜보기 (0) | 2023.10.09 |
|---|---|
| Raspberry Pi 4 - Python으로 7 Segment 제어하기 (0) | 2021.06.13 |
| Node.js를 이용하여 Raspberry Pi 3에 연결된 LED 제어하기 (4) | 2019.08.13 |
| Raspberry Pi 3에서 Servo Motor 제어하기 (15) | 2019.06.03 |
| Raspberry PI에서 보낸 문자열을 Arduino UNO에 연결된 캐릭터 LCD에 보여주기( ESP8266 사용) (6) | 2019.01.16 |
시간날때마다 틈틈이 이것저것 해보며 블로그에 글을 남깁니다.
블로그의 문서는 종종 최신 버전으로 업데이트됩니다.
여유 시간이 날때 진행하는 거라 언제 진행될지는 알 수 없습니다.
영화,책, 생각등을 올리는 블로그도 운영하고 있습니다.
https://freewriting2024.tistory.com
제가 쓴 책도 한번 검토해보세요 ^^


